The JU-Control App is a remote control for all web-compatible devices from JUDO. With the assistance of the app you can, for example, select JUDO water parameters or view important device data.
Please be so kind as to register first.
You need a smartphone (iOS or Android) or a tablet or PC (web browser) connected to the Internet.
The following help guides you through the individual steps, so that you can register easily and self-explanatory.
Your product
defines the way!


You would like to register your
JUDO i-soft,
JUDO i-soft safe,
JUDO SOFTwell (optional connectivity module)
or a JUDO protection filter with call function?
Step 1
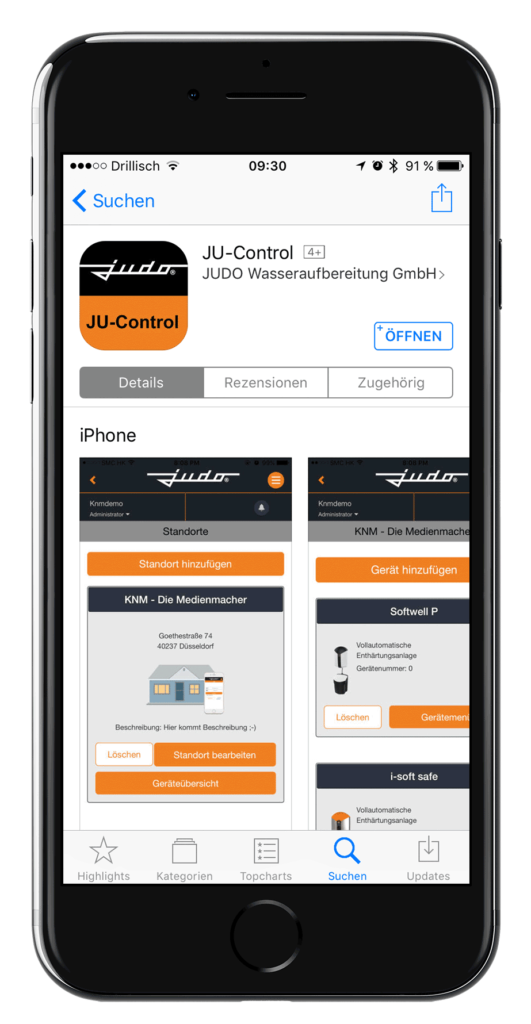
Installing the JU-Control App or using the web browser
You can operate your JUDO device remotely via the JU-Control App, which is available for iOS and Android operating systems.
Alternatively, you can access the web interface, at JU-Control.app, with any standard web browser and use it for remote operation.
Step 2
Setting up a user account
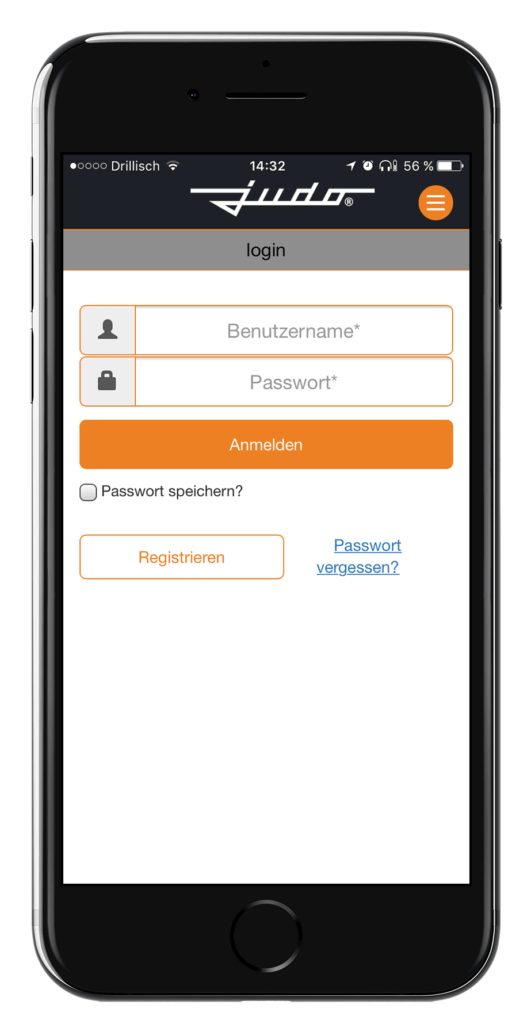
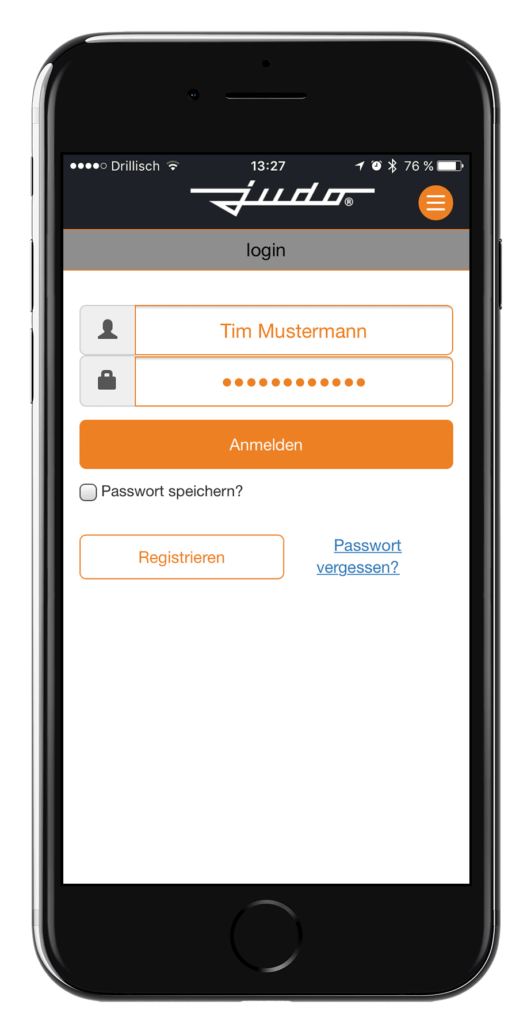
Now open the JU-Control App or the web interface at JU-Control.app.
In the login view you can now create your own account by pressing the “Registrieren” button.
Please note the mandatory fields and make a note of your self-defined user name and the corresponding password.
Step 3
Confirmation of your user account
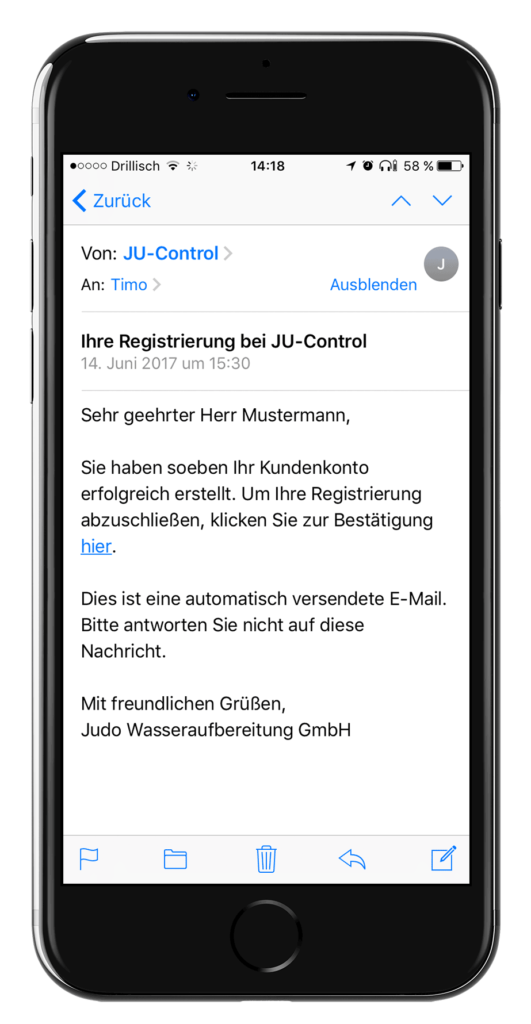
After registration, you will receive a message on your specified e-mail address to complete your activation.
To complete the activation process, click on the link provided in the e-mail.
Step 4
Login to the JU-Control App or web browser
After your user account has been activated, you can now log into the system.
Tip:
Use the “Passwort speichern?” function, so that you do not have to enter your login data again every time you log in. This is done by activating the checkbox.
Step 5
Creation of a location
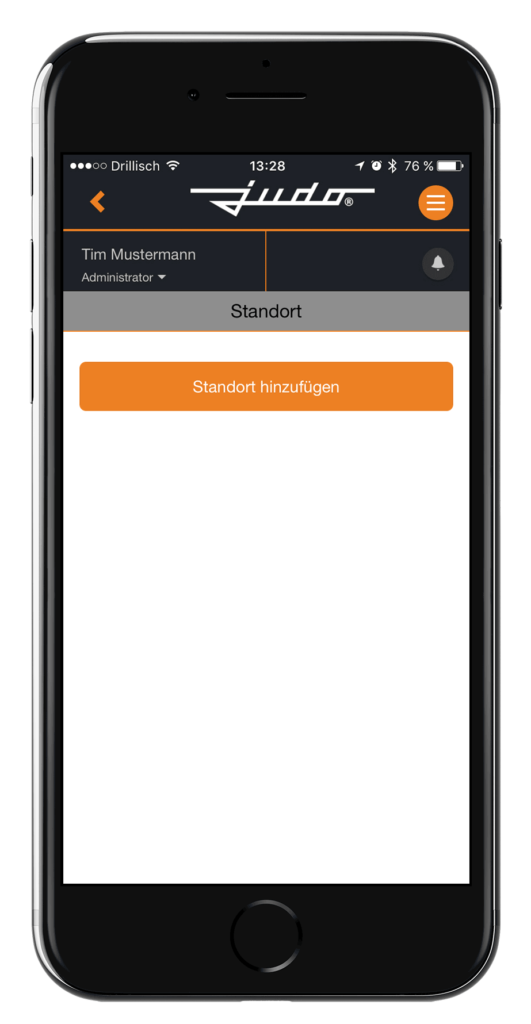
The first view after your registration shows you the location view.
Here you can create various locations in order to be able to display several JUDO devices, which are located in different locations, in a simple and clear way. This is a particularly helpful function for landlords, property management companies, etc.
To register your device first, you have to create a new location by clicking the button “Standort hinzufügen” (create location). You can edit the location details at any time later.
Tip:
You can select the start page via the “Einstellungen” (settings), which you can access by clicking on your user name. You can switch between the “Standorte” (locations) view and the “Geräte” (devices) view. The language off the App can also be changed there.
Step 6
Add a device
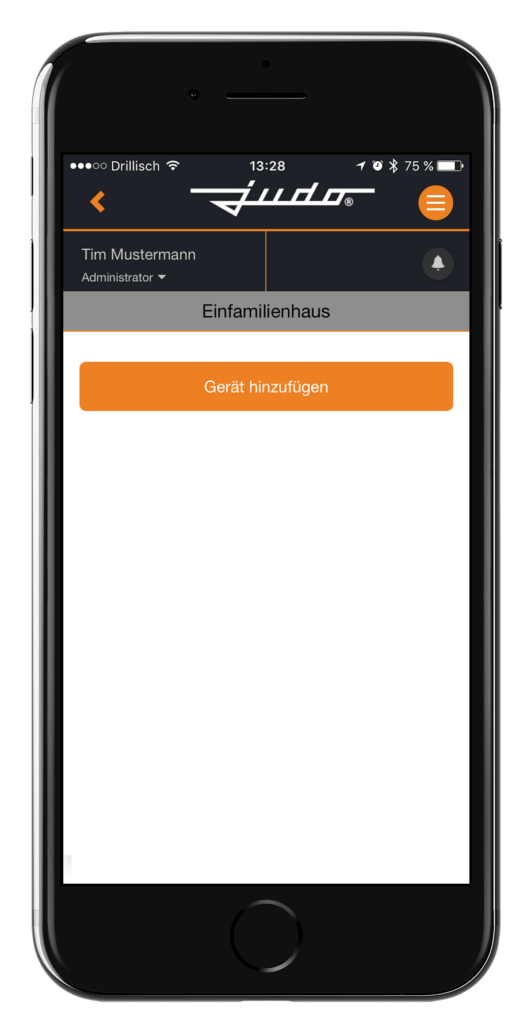
After the successful creation of the location, it will be displayed in the location view.
Now switch to the device view of the location via “Geräteübersicht“.
To add your device to the desired location, press “Gerät hinzufügen” and select the “QR Code Scanner” in the next view. You will need to confirm any message from your operating system to enable the camera function.
As soon as the corresponding device has been detected, it is stored in the device overview of the selected location and can then be remotely controlled via the “Gerätemenü“.
Note:
If the camera function is not available, you can manually enter the number (MAC address) found on the QR code in the “MAC Adresse” field and “Hinzufügen” it.
You would like to register your
JUDO i-soft plus,
JUDO i-dos
or JUDO ZEWA PLUS?
Step 1
Registration on the device’s touch display
If your device has already been successfully registered, e.g. by previous use of the JUDO Manager App, you can use the user account details directly with the new JU-Control App or the web interface.
In the case of an initial registration, this is carried out either during the commissioning procedure, or subsequently via the “Settings” menu and the submenu item “Registration” on the corresponding device. Follow the instructions in each case.
The successful setup of your user account will be shown or transmitted to you in the touch display of the device as well as by e-mail to the specified address.
Note:
If an error occurs during registration, please check your connection to the Internet and then try again.
Step 2
Installing the JU-Control App or using the web browser
You can control your JUDO device remotely via the JU-Control App, which is available for iOS and Android operationg systems.
Alternatively, you can access the web interface, at JU-Control.app, with any standard web browser and use it for remote operation.
Step 3
Login to the JU-Control App or web browser
After your user account has been activated via the device registration, you can now log in directly to the JU-Control App.
Important:
Please do not re-register in the JU-Control App. If you have done so, please contact the customer service regarding a reset of your device registration.
Tip:
Use the “Passwort speichern?” function, so that you do not have to enter your login data again every time you log in. This is done by activating the checkbox.
Step 4
Creation of a location
The first view after your registration shows you the location view.
Here you can create various locations in order to be able to display several JUDO devices, which are located in different locations, in a simple and clear way. This is a particularly helpful function for landladies, property management companies, etc.
To register your device first, you have to create a new location by clicking the button “Standort hinzufügen“. You can edit the location details at any time later.
Tip:
You can select the start page via the “Einstellungen” (settings), which you can access by clicking on your user name. You can switch between the “Standorte” (locations) view and the “Geräte” (devices) view. The language of the device can be changed there.
Step 5
Add a device
After the successful creation of the location, it will be displayed in the location view.
Now switch to the device view of the location via “Geräteübersicht” (overview).
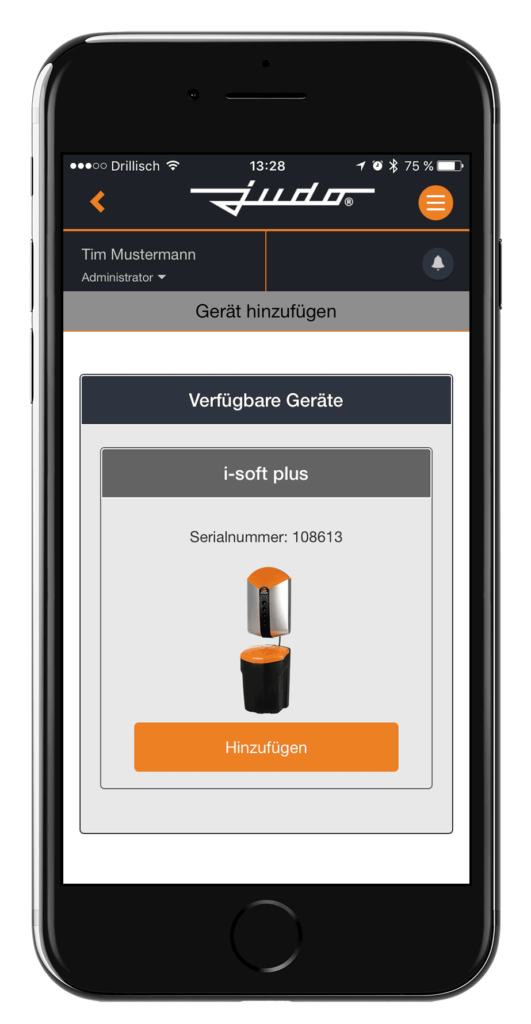
To add your device to the desired location, press “Gerät hinzufügen” (add device).
In the “Geräte hinzufügen” view, scroll down until you see the “Verfügbare Geräte” screen.
All i-soft plus, i-dos and ZEWA PLUS devices assigned to your user account are displayed here.
Then click on “Hinzufügen” (add) for the desired product to link the device to the location. The device can now be controlled remotely via the “Gerätemenü” (menue).